
This Thai peanut sauce recipe is the one I keep permanently stuck to my fridge with a magnet — sweet, salty, a little tangy, with a slow chili kick that makes everything from noodles to grilled chicken taste like you ordered takeout. It comes together in five minutes with pantry staples and a whisk. No soaking, no food processor, no drama.
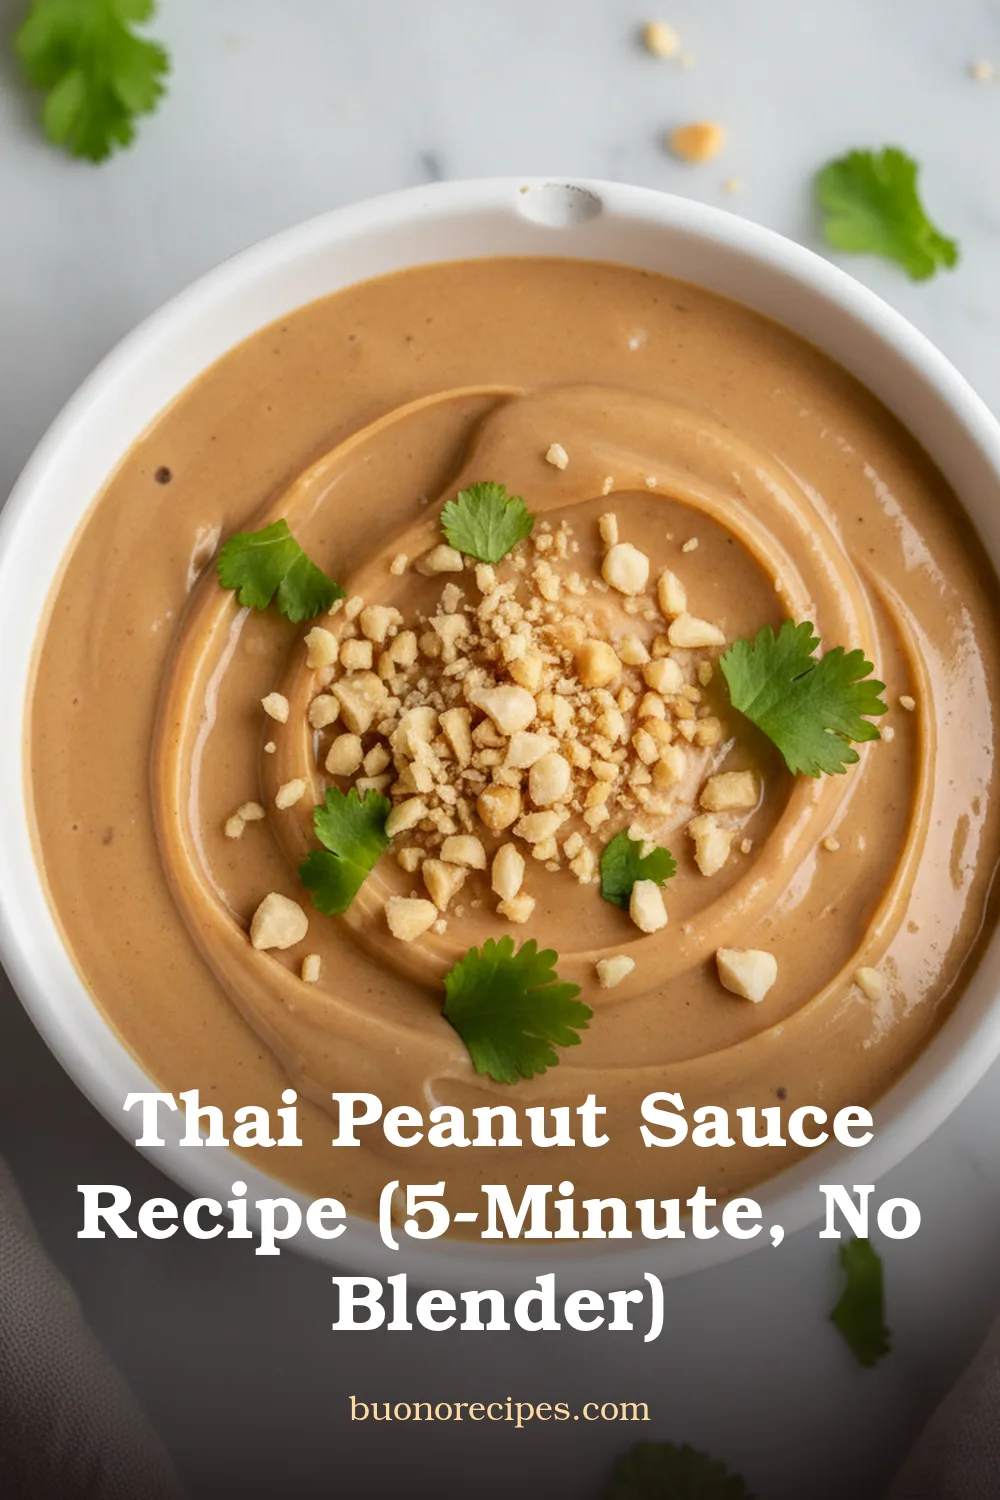
The trick is starting with creamy peanut butter that’s already emulsified (Skippy-style, not the stir-and-separate kind), then layering lime juice, soy sauce, and a touch of brown sugar to round out the edges. Thin it with warm water until it ribbons off a spoon and you’re done.
I’ve tested this with natural peanut butter too, and it works — but you’ll need an extra minute of whisking and maybe a splash more soy to balance the bitterness. More on that below.
What Is Thai Peanut Sauce?
Thai peanut sauce — sometimes called satay sauce — is a rich, pourable condiment built on peanuts, soy, lime, garlic, and chili. It’s the dipping sauce that shows up alongside chicken satay at Thai restaurants, but it’s also what makes cold noodle salads, fresh spring rolls, and even weeknight stir-fries feel complete.
The flavor profile hits salty, sweet, sour, and spicy all at once, which is why it’s so addictive. American takeout versions tend to be sweeter and thicker than what you’d find in Thailand, where it’s often lighter and more herbal. This recipe lands in the middle — thick enough to cling, loose enough to drizzle.
Why This Recipe Works
Most Thai peanut sauce recipes either demand a blender or end up gritty and separated. This one uses a bowl and a whisk because emulsified peanut butter does the heavy lifting for you — no machine to wash, no chunks of garlic hiding in your sauce.
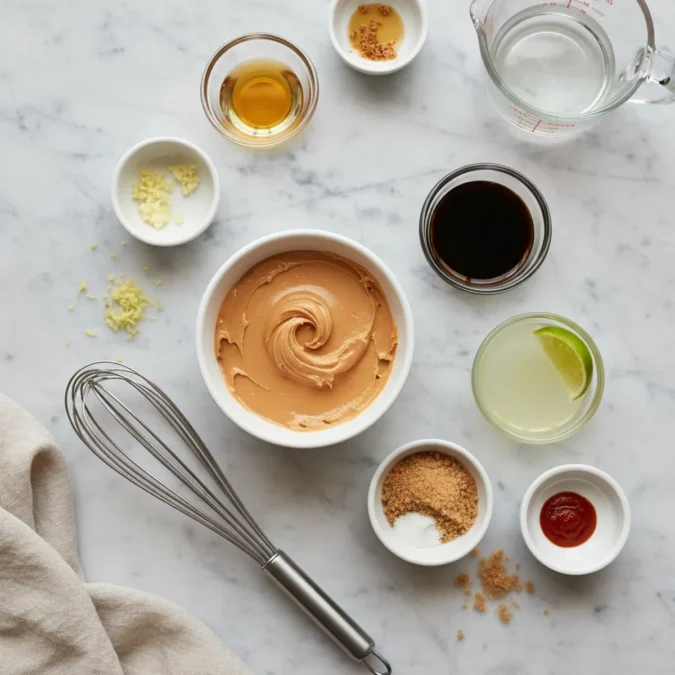
The ratio is dialed in: the lime provides brightness without turning it sour, the brown sugar tames the heat without making it cloying, and the garlic and ginger stay raw but mellowed by the fat. Warm water (not cold) thins it smoothly without shocking the peanut butter into clumping.
I’ve made this weekly for three years — it’s my backup plan for sad fridge vegetables, the dressing for lunch noodle bowls, and the thing my kids will eat broccoli under. It scales up cleanly if you’re feeding a crowd.
Ingredient Notes
Use creamy peanut butter that contains emulsifiers (like Skippy or Jif) for the smoothest result. Natural peanut butter works, but the oil separation means you’ll whisk longer and may need an extra pinch of sugar to balance the sharper peanut flavor.
Fresh lime juice matters here — bottled tastes flat and metallic. One medium lime gives you roughly 2 tablespoons, which is exactly what you need. Low-sodium soy sauce is my default so the sauce doesn’t get aggressively salty; if you only have regular soy, taste before adding the optional salt.
Sriracha or sambal oelek both work for heat. Sriracha brings a garlicky sweetness; sambal is sharper and more acidic. Start with a teaspoon and adjust upward. Brown sugar dissolves more easily than honey, but honey is a fine substitute if that’s what you have.
Ingredient Swaps & Dietary Options
Gluten-free: swap soy sauce for tamari or coconut aminos. Coconut aminos are sweeter, so cut the brown sugar to 1 teaspoon and taste before adding more.
Vegan: this recipe is already vegan as written — just confirm your peanut butter and hot sauce don’t contain hidden honey or fish sauce. If you want a more traditional Thai depth, add ½ teaspoon of vegan fish sauce.
Keto/low-carb: substitute the brown sugar with monk fruit sweetener or a few drops of liquid stevia. Use coconut aminos instead of soy sauce. The carb count drops significantly while the flavor stays close.
Nut-free: sunflower seed butter is the closest substitute. It’s slightly more bitter, so add an extra ½ teaspoon of sugar and a splash more lime to balance it.
Tips for the Best Sauce
Add the warm water a tablespoon at a time. The sauce thickens as it sits, especially in the fridge, so make it slightly looser than you think you need — you can always stir in more water later, but you can’t take it out.
If the peanut butter is cold and stiff, microwave it for 15 seconds before whisking. Cold peanut butter fights you the whole way; warm peanut butter cooperates.
Taste at the end and adjust. If it’s too sweet, add a few drops of lime or soy. Too salty, add a little more sugar or water. Too thick, thin with warm water. Too thin, let it rest for ten minutes — peanut butter absorbs liquid as it sits.
Serving Ideas
Toss with rice noodles, shredded rotisserie chicken, cucumber ribbons, and cilantro for a 15-minute cold noodle bowl. Drizzle over grilled chicken skewers or shrimp as a satay-style dip. Use it as a stir-fry sauce for broccoli and tofu — add an extra tablespoon of water since the pan will reduce it.
It’s also excellent as a salad dressing for crunchy cabbage slaw or spooned over a grain bowl with quinoa, roasted sweet potatoes, and scallions. For a quick snack, dunk cucumber spears, bell pepper strips, or rice paper spring rolls straight into it.
Storage & Freezing
Store leftover sauce in an airtight jar in the fridge for up to a week. It will thicken and the surface may darken slightly — both are fine. Stir in a teaspoon of warm water to bring it back to pouring consistency before using.
Freeze in ice cube trays for single-portion servings, then transfer the frozen cubes to a zip-top bag for up to 3 months. Thaw a cube in the microwave in 20-second bursts, stirring between each, or drop it directly into a hot pan of stir-fried vegetables and let it melt into the dish.
5-Minute Thai Peanut Sauce
Ingredients
Equipment
Method
- In a small mixing bowl, combine the peanut butter, soy sauce, lime juice, brown sugar, sriracha, garlic, ginger, and sesame oil.
- Whisk until thick and uniform — it will look like a stiff paste at first.
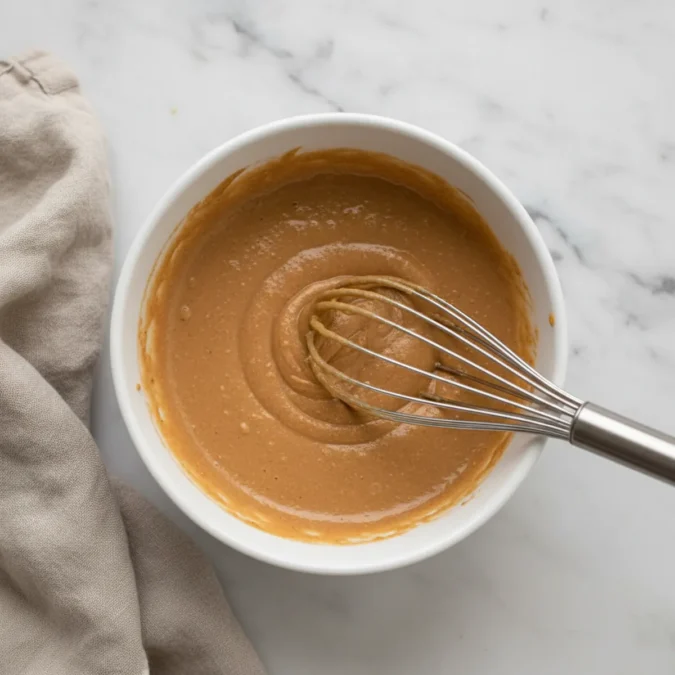
- Add the warm water 1 tablespoon at a time, whisking thoroughly after each addition, until the sauce flows off the whisk in a slow ribbon. Most batches take 3–4 tablespoons.
- Taste and adjust: add more sriracha for heat, lime for brightness, or sugar if the peanut flavor tastes bitter.
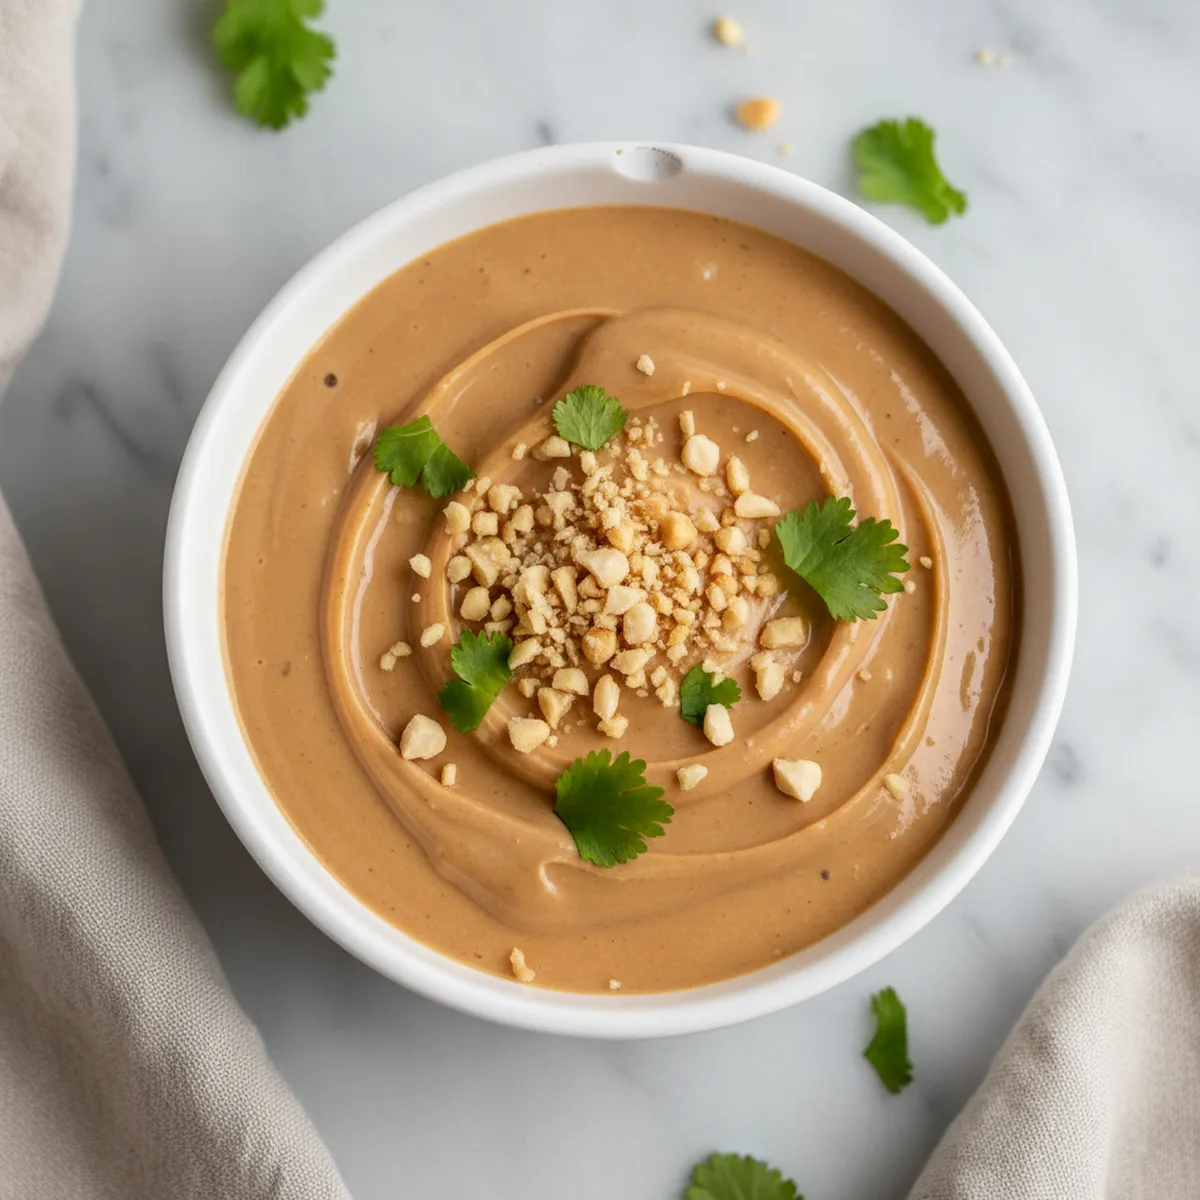
- Garnish with crushed peanuts and cilantro if serving as a dip. Use immediately or transfer to a jar and refrigerate.
Notes
Frequently Asked Questions
Can I make Thai peanut sauce without a blender?
Absolutely — that’s the whole point of this recipe. Emulsified creamy peanut butter (the kind that doesn’t separate in the jar) blends smoothly with just a whisk. If you’re using natural peanut butter, give it a good stir first and be patient with the whisking; it’ll come together, just slower.
How do I thin peanut sauce that's too thick?
Add warm water one teaspoon at a time and whisk until it loosens. Warm water blends in smoothly; cold water can make the peanut butter seize and go lumpy. If you’ve already refrigerated the sauce, let it sit at room temperature for 10 minutes before thinning.
What can I substitute for peanut butter?
Sunflower seed butter is the closest swap for nut allergies — it’s slightly more bitter, so add an extra ½ teaspoon of sugar and a splash more lime. Almond butter works too but has a thinner, sweeter flavor. Avoid chunky varieties unless you want texture in your sauce.
Is Thai peanut sauce spicy?
This version is mildly spicy with 1 teaspoon of sriracha — it’s a gentle warmth, not a burn. If you’re cooking for kids or heat-sensitive eaters, start with ¼ teaspoon and taste. You can always add more, but you can’t take it back out.
Can I use this as a stir-fry sauce?
Yes — add an extra tablespoon of warm water because the high heat of the pan will reduce and concentrate it quickly. Toss it in during the last 30 seconds of cooking so the sauce coats everything without scorching on the pan surface.
Leave a Reply