
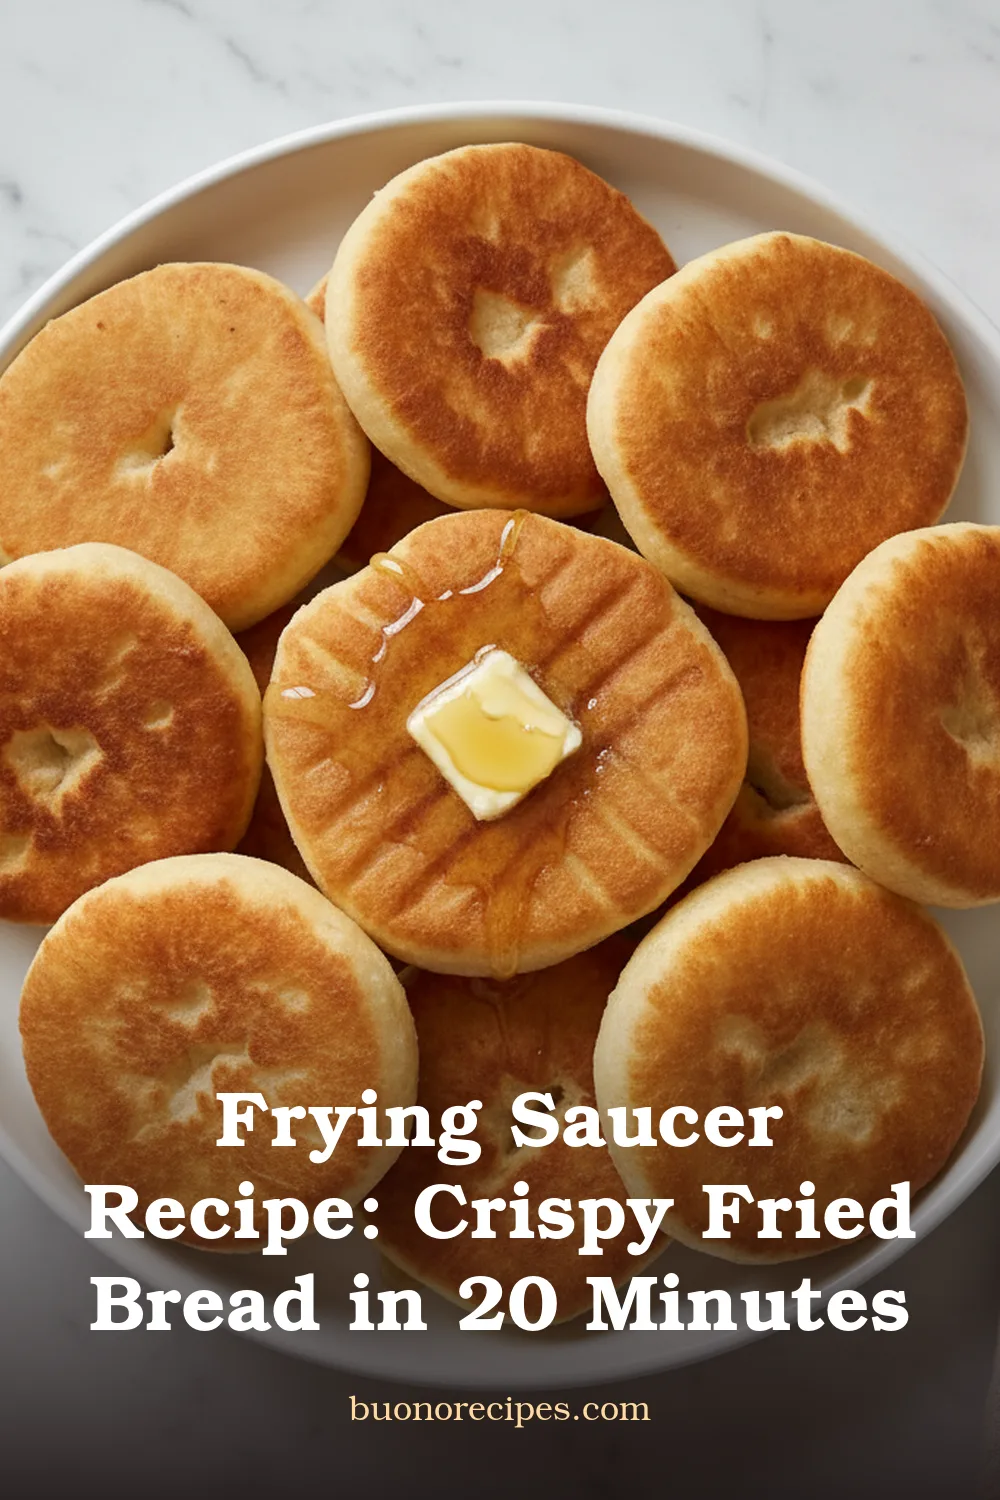
Crispy on the outside, pillowy-soft in the middle — that’s what a great frying saucer recipe delivers, and you only need five ingredients to get there. These golden fried bread rounds taste like something your grandmother might have pulled out of a cast-iron skillet on a Sunday morning.
I grew up watching my mom pat out dough circles and slide them into shimmering oil, and the trick I learned is this: don’t overwork the dough and don’t rush the oil temperature. Get those two things right and you’ll have saucers that puff, blister, and stay tender inside.
This frying saucer recipe is the one I make when I want something warm and comforting fast — breakfast, a snack, or even a base for savory toppings. It’s simple, forgiving, and genuinely fun to make.
What Are Frying Saucers?
Frying saucers are round, flat discs of simple bread dough that get pan-fried in hot oil until golden and puffed. They’re a Southern and Appalachian comfort food — similar to fry bread or skillet bread — with a crackly exterior and a soft, almost biscuit-like crumb inside.
The name comes from the shape: you pat or roll the dough into saucer-sized rounds before frying. Some folks keep them plain and eat them with butter and honey, while others use them as a base for savory toppings like beans, cheese, or pulled pork.
They’re endlessly versatile, which is why this frying saucer recipe has stuck around for generations. Once you master the basic technique, you can season them however you like.
Why This Recipe Works
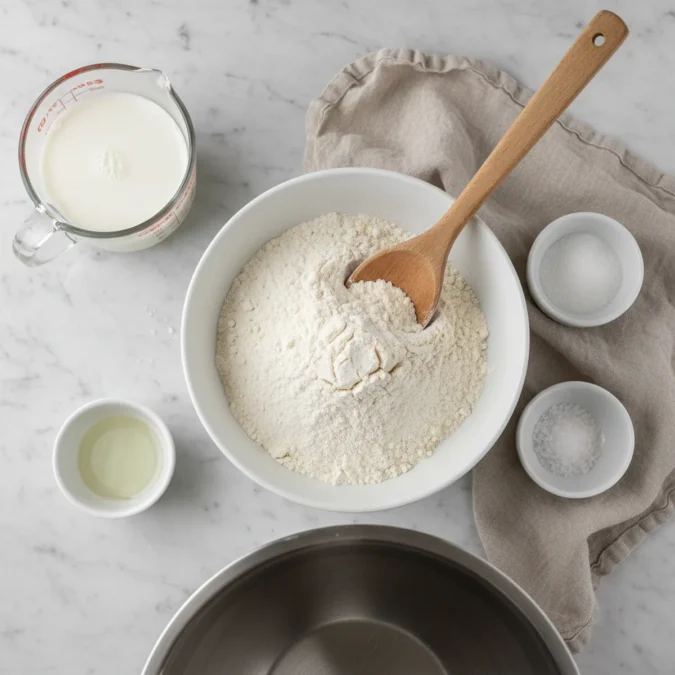
The dough uses a combination of all-purpose flour, baking powder, a little salt, milk, and a touch of oil or melted butter. The baking powder gives a gentle lift so the saucers puff instead of staying flat, while the milk keeps the interior tender.
Frying at 375°F is the sweet spot. Too cool and the dough absorbs oil and turns greasy; too hot and the outside burns before the inside cooks through. A thermometer takes the guesswork out, but you can also test with a small piece of dough — it should sizzle immediately and float within a few seconds.
I rest the dough for 10 minutes before shaping. This relaxes the gluten so the rounds don’t shrink back when you pat them out, and it gives the baking powder a head start. Small step, big difference.
Ingredient Notes
Use standard all-purpose flour. Bread flour works too but makes a slightly chewier saucer — not necessarily a bad thing, just different. Whole wheat flour can replace up to half the all-purpose for a nuttier flavor, but expect a denser texture.
Whole milk gives the best flavor and tenderness, but 2% or even buttermilk work fine. If using buttermilk, the saucers get a subtle tang that pairs beautifully with honey. Plant-based milk like oat or almond works for a dairy-free version.
Neutral oil with a high smoke point is essential for frying — canola, vegetable, or peanut oil are all good choices. Save the olive oil for finishing; its lower smoke point and strong flavor aren’t right here.
Ingredient Swaps & Dietary Options
Gluten-free: use a 1:1 gluten-free flour blend that includes xanthan gum. The dough will be slightly more delicate, so handle gently and don’t roll too thin. The texture is a touch softer but still delicious.
Vegan: swap the milk for oat or almond milk and use vegetable oil instead of butter in the dough. The frying oil stays the same. Results are nearly identical — you won’t miss the dairy.
Keto-friendly: replace the flour with a mix of almond flour and coconut flour (about 2:1 ratio), add an egg for binding, and use ½ teaspoon baking powder. These won’t puff as much but fry up crispy and satisfying. Keep an eye on the oil temp — keto dough browns faster.
Tips for Perfect Saucers Every Time
Don’t over-knead. Mix the dough just until it comes together — overworking builds gluten and makes tough saucers. A few shaggy spots are fine; they’ll hydrate during the rest.
Keep the dough rounds about ¼ inch thick. Thinner and they turn into crackers; thicker and the center stays doughy. Aim for saucer-sized, roughly 5 inches across.
Fry in batches and don’t crowd the pan. Two or three at a time is ideal — crowding drops the oil temperature and leads to greasy, pale saucers. Drain on a wire rack set over a baking sheet rather than paper towels; the rack keeps the bottom from steaming and getting soggy.
Serving Ideas
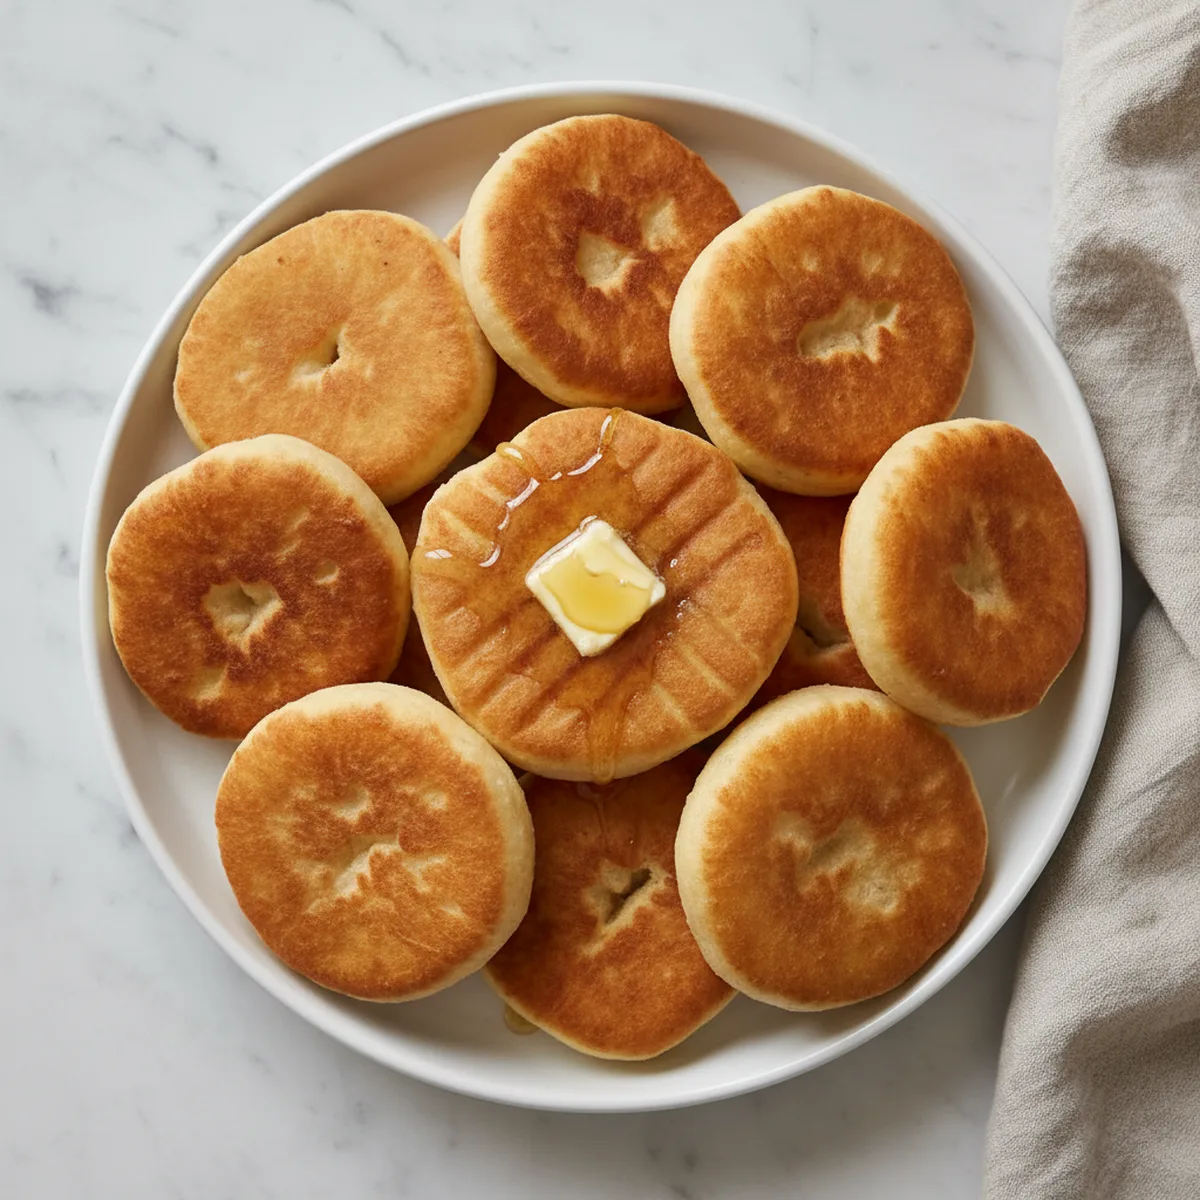
For a sweet version, brush warm saucers with melted butter and drizzle with honey, cinnamon sugar, or a dusting of powdered sugar. They’re also incredible split open and filled with jam or apple butter.
Go savory by topping with chili, taco fixings, shredded cheese, or a fried egg. A saucer makes a fantastic base for eggs Benedict or a breakfast sandwich — split it, toast the cut sides, and build.
For a party, set out a platter of warm saucers with bowls of toppings and let everyone build their own. It’s interactive, fun, and disappears fast.
Storage & Freezing
Frying saucers are best eaten fresh, but leftovers keep in an airtight container at room temperature for up to 2 days. Reheat in a 350°F oven or air fryer for 3-4 minutes to crisp them back up — the microwave makes them tough and rubbery.
To freeze, let cooled saucers cool completely, then wrap individually in foil and store in a freezer bag for up to 2 months. Reheat directly from frozen in a 375°F oven for about 8 minutes, or air fry at 350°F for 5 minutes.
You can also freeze the shaped, uncooked dough rounds. Separate with parchment paper in a container and fry straight from frozen — just add a minute or two to the cooking time.
Frying Saucers
Ingredients
Equipment
Method
- In a mixing bowl, whisk together the flour, baking powder, and salt.
- Add the milk and oil (or melted butter). Stir with a wooden spoon until a shaggy dough forms, then use your hands to bring it together into a ball. If the dough feels dry, add milk 1 tablespoon at a time.
- Turn the dough onto a lightly floured surface and knead gently just 4-5 times — don't overwork it. Cover with a clean towel and let rest for 10 minutes.
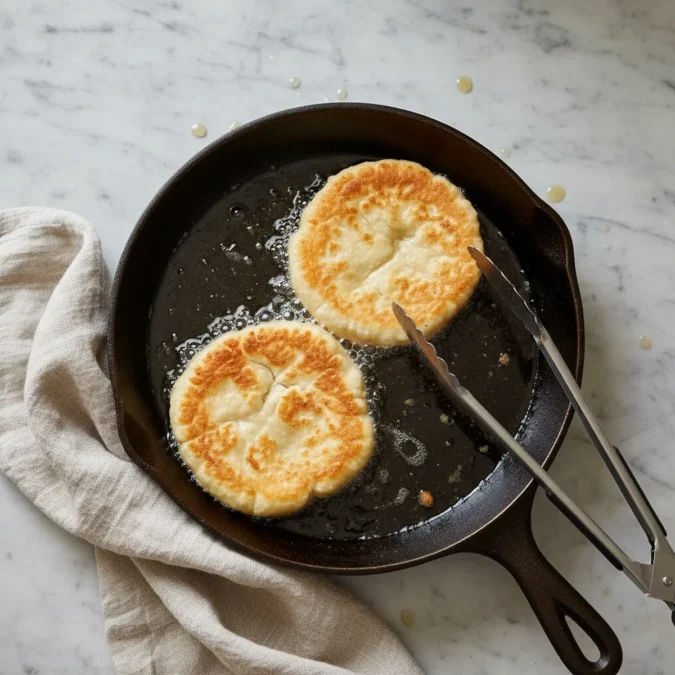
- Pour frying oil into a cast iron skillet to a depth of about ½ inch. Heat over medium to 375°F. If you don't have a thermometer, test with a small piece of dough — it should sizzle and float within 3-4 seconds.
- Divide the dough into 6 equal pieces. Pat or roll each piece into a round about 5 inches across and ¼ inch thick.
- Carefully slide 2-3 dough rounds into the hot oil. Fry for 1-2 minutes per side until golden brown and puffed, flipping once with tongs.
- Remove to a wire rack set over a baking sheet to drain. Repeat with remaining dough, letting the oil come back to 375°F between batches.
- Serve warm with butter and honey, or your favorite sweet or savory toppings.
Notes
Frequently Asked Questions
Why didn't my frying saucers puff up?
Usually it’s one of two things: the oil wasn’t hot enough, or the dough was overworked. Make sure your oil hits 375°F before frying, and knead the dough just until it comes together — 4-5 gentle turns is plenty. Also check that your baking powder isn’t old; it loses potency over time.
Can I make the dough ahead of time?
Yes. You can mix and shape the dough up to 24 hours ahead, then cover and refrigerate. Let it sit at room temperature for 15 minutes before frying so it’s not ice-cold going into the oil. Cold dough drops the oil temperature and leads to greasy saucers.
What's the difference between frying saucers and fry bread?
They’re very similar — both are simple fried dough rounds. Frying saucers tend to be slightly smaller and thicker, with a biscuit-like texture from the baking powder. Traditional fry bread often uses yeast or just flour and water, and is typically larger and thinner. The terms are sometimes used interchangeably depending on the region.
Can I bake these instead of frying?
You can, but the texture changes significantly. Baked saucers come out more like biscuits — still tasty, but without the crispy, blistered exterior that makes frying saucers special. If you want to try, bake at 400°F for 10-12 minutes and brush with melted butter before and after baking.
What oil is best for frying saucers?
Use a neutral oil with a high smoke point — canola, vegetable, or peanut oil are all excellent. Avoid olive oil (low smoke point and strong flavor) and butter (burns at frying temperature). You want about ½ inch of oil in the pan, enough to come halfway up the dough rounds.
Leave a Reply