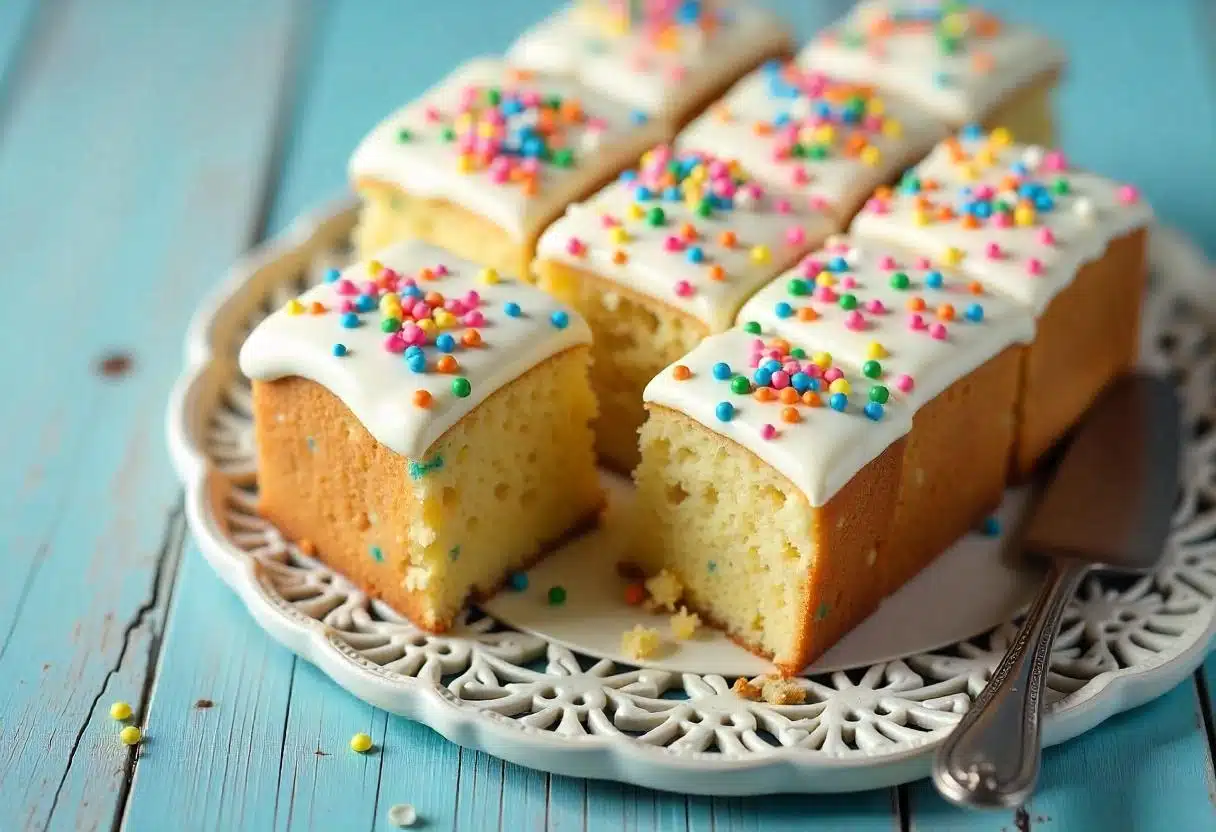
Hey there, cake lovers! Okay, let’s talk about pure, unadulterated nostalgia. If you hear the words “school cake” and instantly picture that soft, fluffy yellow square topped with simple white icing and a riot of colourful sprinkles… Mamma mia, you are my people! My kids absolutely adore this cake – maybe it’s the sprinkles? – and honestly, so do I (and my goofy husband!).
This isn’t some fancy pâtisserie creation; it’s the school cake recipe , a timeless classic that’s ridiculously easy but delivers big on simple, happy flavour. It’s the kind of cake that brings back memories faster than an old photo album. This school cake recipe has stuck around for a reason, folks, and trust me, it’s just as delicious today. We’ll explore why this simple treat is so beloved and how you can bake up a batch of pure childhood joy right in your own kitchen. Get ready for some delicious fun!
Ingredient Breakdown
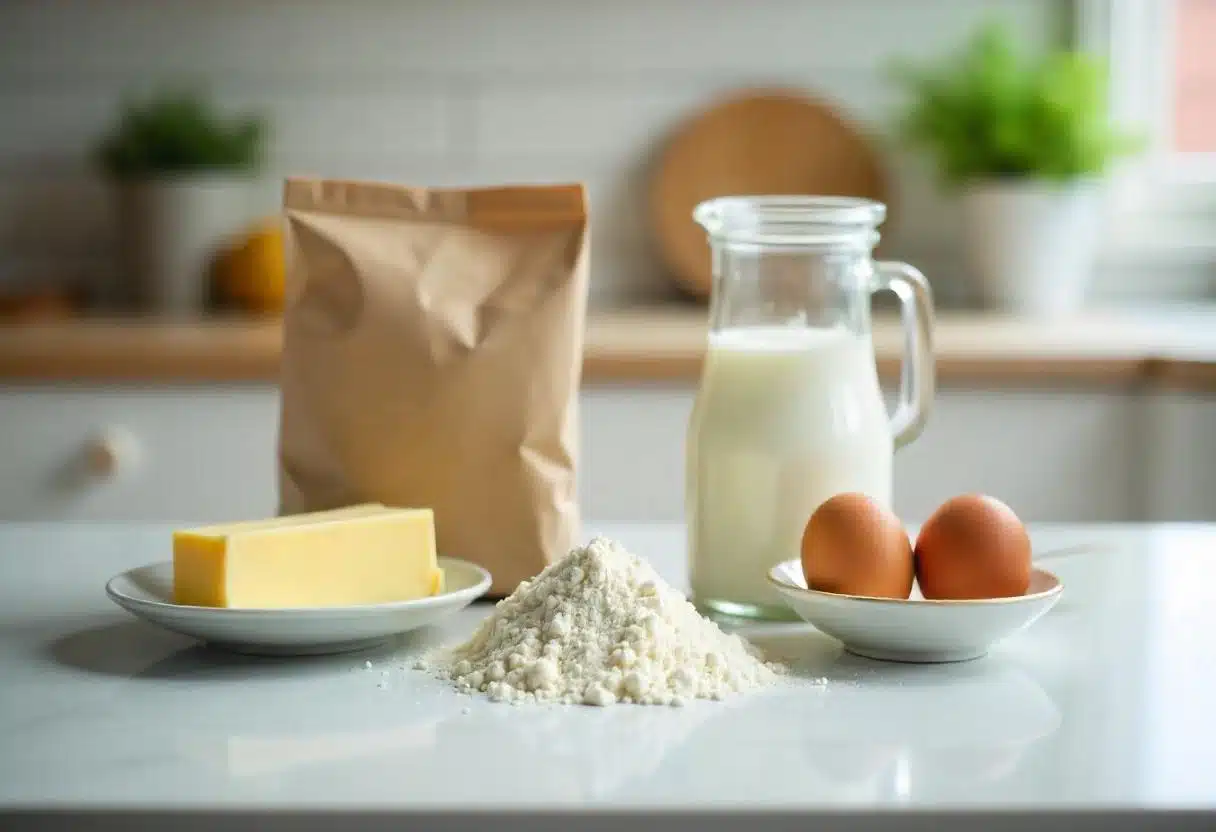
This is where the magic starts! Let’s break down the simple ingredients for this classic school cake recipe . No weird stuff here, just pantry staples ready to become something wonderful.
So, what makes a school cake , a school cake? Simplicity! Here’s what you’ll need for this fantastic version (inspired by the lovely Jane’s Patisserie recipe):
- Unsalted Butter: 400g (that’s about 1 ¾ cups, or 3.5 sticks). Make sure it’s softened to room temperature! This is key for creaming properly and getting that lovely tender crumb. Good quality butter adds great flavour! You can use margarine if you need a dairy-free option, but butter gives that classic rich taste. Wondering about butter vs. margarine? Check out my thoughts here: Does Mary Berry Use Butter or Margarine?
- Caster Sugar: 400g (about 2 cups). This is superfine sugar, common in the UK. It dissolves beautifully when creaming with butter. If you can’t find it, regular granulated sugar works fine too!
- Eggs: 7-8 medium eggs (yes, it seems like a lot, but it makes a wonderfully rich cake!). Try to have them at room temperature – they mix in much better!
- Self-Raising Flour: 400g (about 3 ¼ cups). This is flour with the baking powder already mixed in – super common in the UK. Important for US bakers: If you can’t find self-raising flour, use 3 ¼ cups of All-Purpose Flour PLUS about 5 teaspoons of Baking Powder and ¾ teaspoon of Salt . Whisk these dry ingredients together really well before adding them!
- Vanilla Extract: 1 teaspoon. For that lovely background warmth! Use the good stuff if you can.
- Milk: 4 tablespoons. Just a splash to bring the batter to the right consistency. Room temperature is ideal. Whole milk adds richness, but low-fat or even plant-based milk can work (just might change the flavour slightly).
- Icing Sugar (Powdered Sugar): 500g (about 4 cups), sifted. For that classic simple white icing. Sifting gets rid of lumps!
- Water: 4-5 tablespoons (maybe a little more or less). For making the icing.
- Rainbow Sprinkles: Non-negotiable! Get your favourite kind ready for maximum joy!
A little note from my kitchen: Accuracy matters in baking! Nonna always said, “Baking is chemistry, cooking is art.” Measure carefully, especially your flour (spoon it into the cup, don’t scoop!), for the best school cake results!
Step-by-Step Instructions
Okay, let’s turn these simple ingredients into a nostalgic masterpiece! Put on some music (I recommend some Sinatra or Italian pop!), grab your apron, and let’s bake this easy school cake .
Here’s the game plan. Follow these easy steps, and you’ll be slicing into happy memories soon:
1: Prep Your Gear and Get Ready to Rumble!
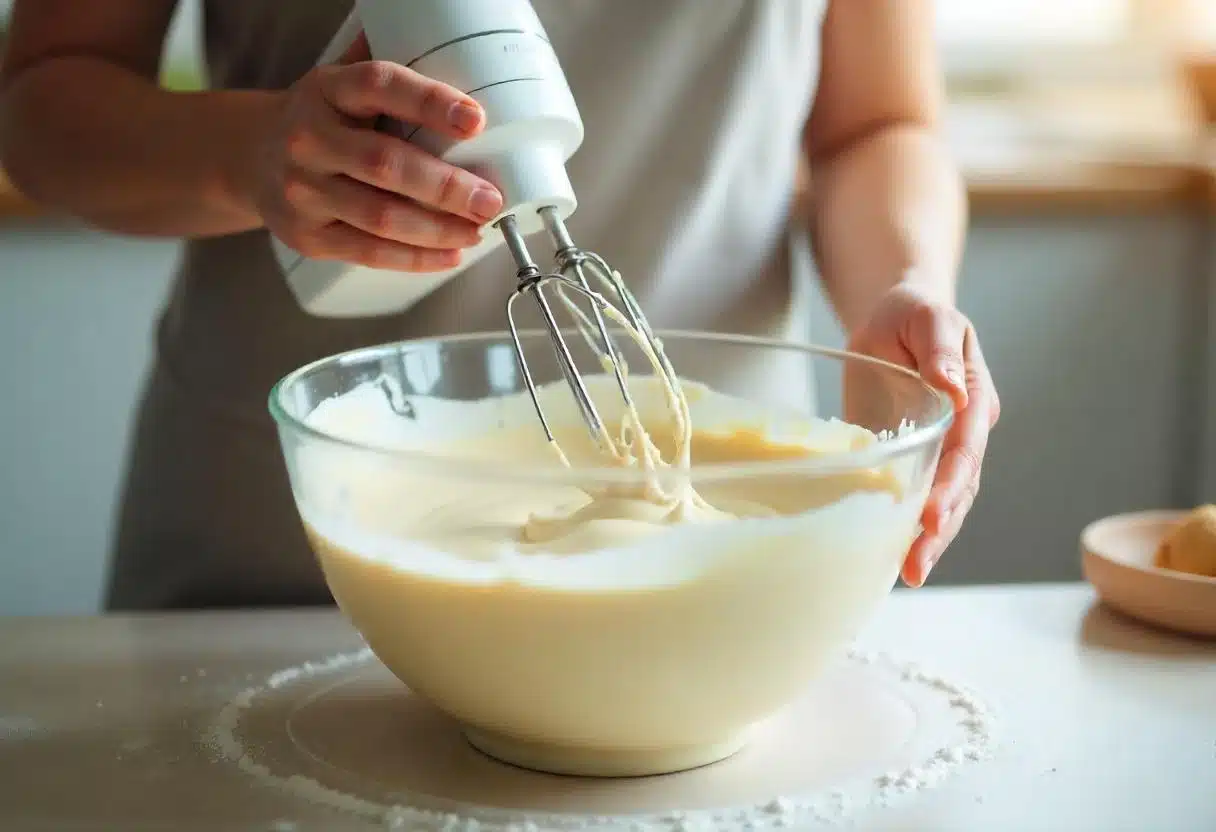
2: Creaming the Butter and Sugar (Fluffy Town!)
3: Egg-cellent Addition
4: Combine and Fold (Gently Does It!)
5: Adding the Milk
6: Bake, Baby, Bake!
7: Cool it Down (Patience, My Friend!)
8: Icing Fun!
9: Ice, Ice Baby & Sprinkle!
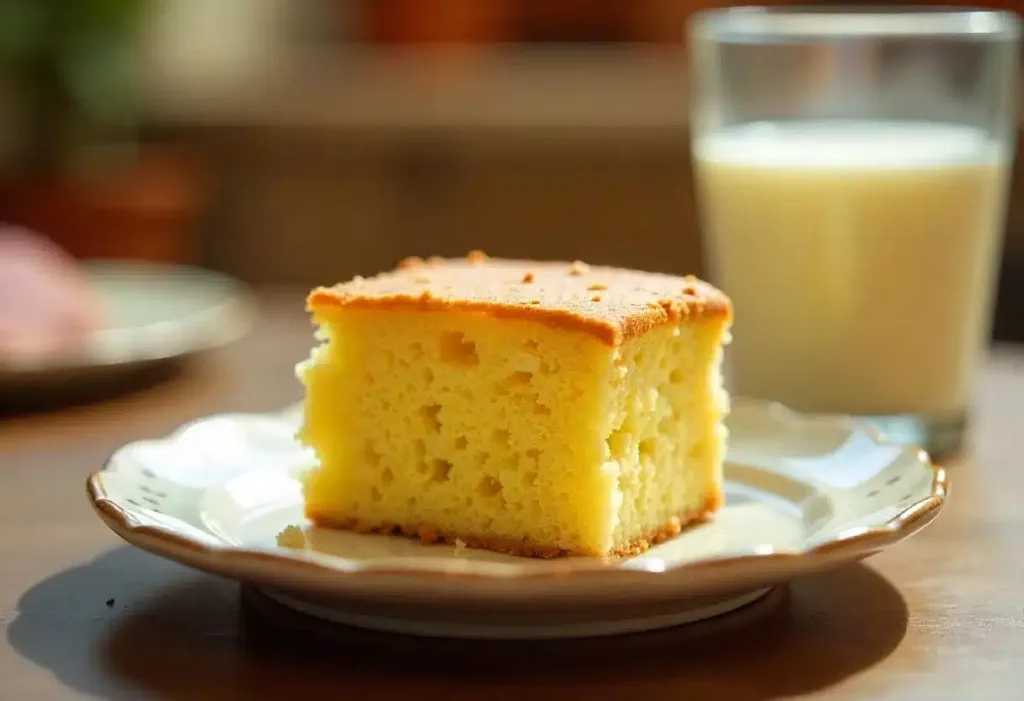
Need a visual for checking doneness? This resource explains it well.
Recipe Summary
- Serves: 12 generous squares (or more smaller ones!)
Nutritional Content (per 100g, just a rough idea!)
| Nutrient | Amount (approx.) |
| Calories | ~400-450 kcal (depending on icing/sprinkles!) |
| Fat | ~20-25 g |
| Carbohydrates | ~50-55 g (lots from sugar!) |
| Protein | ~5-6 g |
Heads up: These are just estimates! Your mileage may vary based on exact ingredients and how generously you slice that delicious school cake . It’s a treat, enjoy it!
Tips and Tricks
Okay, you’ve got the school cake recipe . Want to make it extra special or fix any little oopsies? Here are my go-to tips:
Making it Super Moist:
- Don’t Overbake!: The #1 moisture killer! Start checking your school cake around 40 mins. Take it out as soon as that skewer test passes!
- Room Temp Rules: Using room temperature butter, eggs, and milk helps everything combine smoothly and results in a more tender, moist cake.
- Fat = Moisture: Using real butter and whole milk makes a difference in richness and moisture for this school cake recipe. Need more tips? Check out my guide to a super moist cake!
Troubleshooting Common Issues:
- Cake Too Dense?: Usually means overmixing after adding the flour, or maybe your self-raising flour/baking powder was old. Be gentle when mixing!
- Dry Cake Blues?: Probably baked a bit too long, or the oven was too hot. Check your oven temp with a thermometer maybe?
- Stuck Cake Calamity?: Mamma mia! Grease and line that tin really well next time – parchment paper is your best friend here.
- Alternative Tin Size? The original recipe notes suggest for a 9″ square tin, use a 5 egg mix (so 250g each of butter, sugar, self-raising flour, 5 eggs, maybe 3 tbsp milk, 1 tsp vanilla) and bake for around 35 minutes. Adjust accordingly!
Creative Customizations:
Pro Tip: Store leftover school cake in an airtight container at room temperature – it’ll stay lovely for 3-4 days (if it lasts that long!).
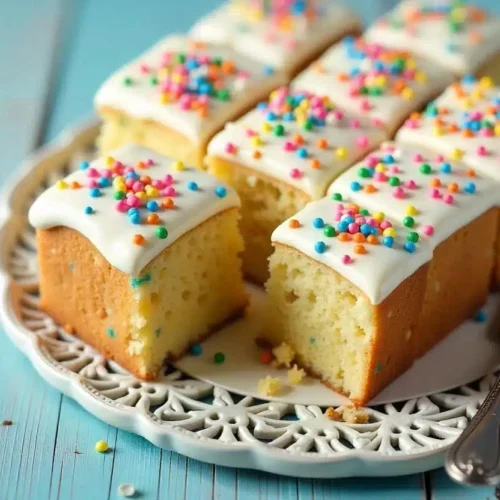
School Cake
Equipment
- 9x13 inch Traybake Tin
- Parchment paper
- Electric Mixer (Handheld or Stand)
- Large mixing bowl
- Medium Mixing Bowl (for icing)
- Measuring Cups & Spoons
- Spatula
- Sifter
- Wire Cooling Rack
- Offset Spatula or Spoon (for spreading batter/icing)
Ingredients
For the Cake:
- 400 g Unsalted Butter about 1 ¾ cups or 3.5 sticks, softened to room temperature
- 400 g Caster Sugar about 2 cups (Granulated sugar works too)
- 7-8 medium Eggs room temperature
- 400 g Self-Raising Flour about 3 ¼ cups (See Note for US alternative)
- 1 tsp Vanilla Extract
- 4 tbsp Milk room temperature (Whole milk recommended)
For the Icing:
- 500 g Icing Sugar Powdered Sugar (about 4 cups), sifted
- 4-5 tbsp Water adjust as needed
- Rainbow Sprinkles generous amount!
Instructions
- Preheat oven to 180°C / 350°F (160°C fan). Grease and line a 9x13 inch traybake tin with parchment paper, leaving an overhang.
- In a large bowl, beat the softened butter and caster sugar with an electric mixer for 3-5 minutes until pale, light, and fluffy.
- Add the eggs one at a time, beating well after each addition. Scrape down the bowl sides occasionally. Beat in the vanilla extract with the last egg.
- Add the self-raising flour. Mix on low speed or fold gently with a spatula just until almost combined (do not overmix).
- Add the milk and mix again gently on low speed or by hand only until the batter is smooth and just combined, with no flour streaks remaining.
- Pour batter into the prepared tin and spread evenly.
- Bake for 45-50 minutes, or until golden brown, springs back when gently pressed, and a skewer inserted into the center comes out clean. Start checking around 40 minutes.
- Leave the cake to cool completely in the tin on a wire rack.
- Once completely cool, make the icing: Sift icing sugar into a medium bowl. Add water 1 tablespoon at a time, mixing well, until a thick, smooth, spreadable paste forms.
- Pour or spoon the icing onto the center of the cooled cake and spread evenly over the top.
- Immediately cover generously with rainbow sprinkles while the icing is still wet.
- Let the icing set for at least 1 hour before slicing into squares and serving.
Notes
Frequently Asked Questions (FAQ)
Got questions about this nostalgic school cake ? Let’s get ’em answered!
What is school cake called?
What are the 5 main ingredients in cake?
What is the secret to super moist cake?
What is the best cake in the world?
This is where we’ll leave our readers with some final thoughts and encouragement.
So there you have it – everything you need to whip up a perfect school cake ! From the simple ingredients to the easy-peasy steps and all those little tips and tricks, I hope I’ve shown you just how easy and rewarding it can be to bake this classic treat, using this fantastic school cake recipe .
It’s more than just a cake, isn’t it? It’s a slice of nostalgia, a taste of childhood, and a reminder of those simple, joyful moments. It’s the kind of cake that brings people together, sparks conversations, and creates new memories and this school cake recipe allows you to share that experience.
So, go ahead, give it a try! Don’t worry if it’s not perfect the first time. Baking is all about learning and having fun. And who knows, maybe this will become your signature cake! This school cake recipe is a great place to start.
I’d absolutely love to hear how your school cake turns out. Do share your experiences, any variations you tried, or even just what it reminds you of in the comments below. Let’s keep the baking fun going and spread some sweetness around!

