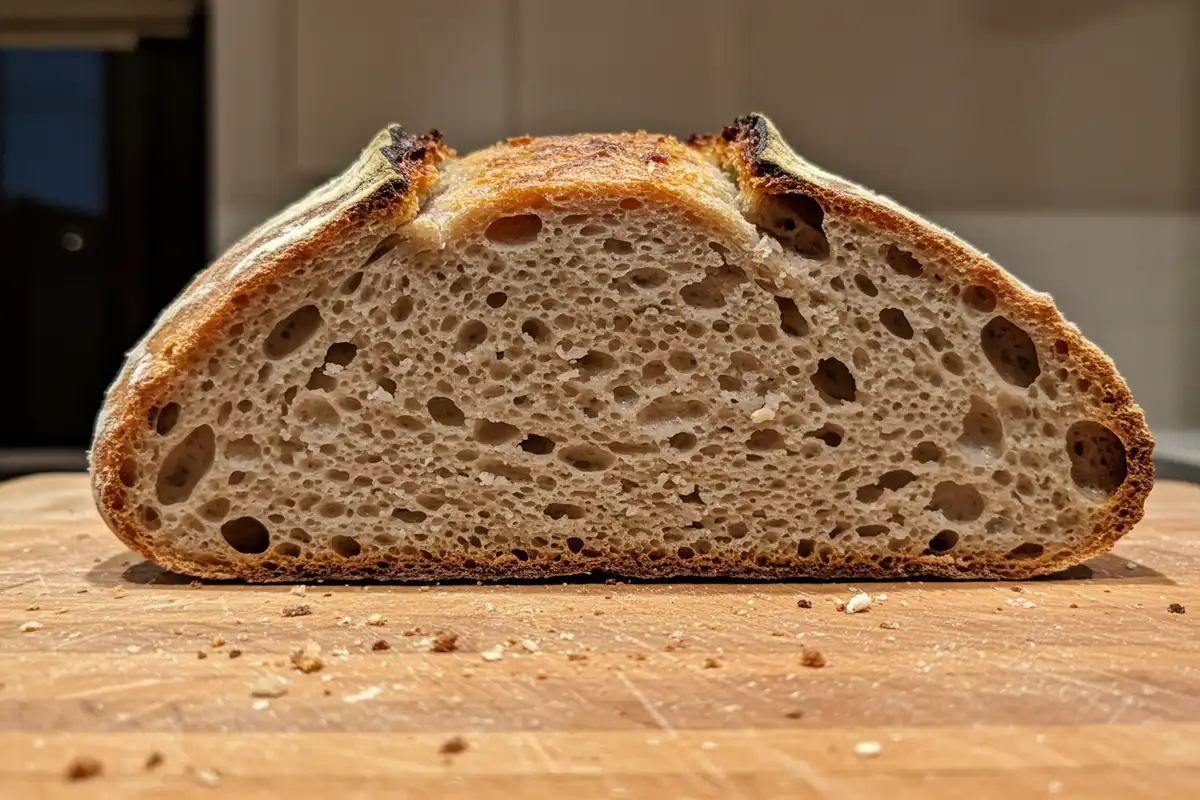
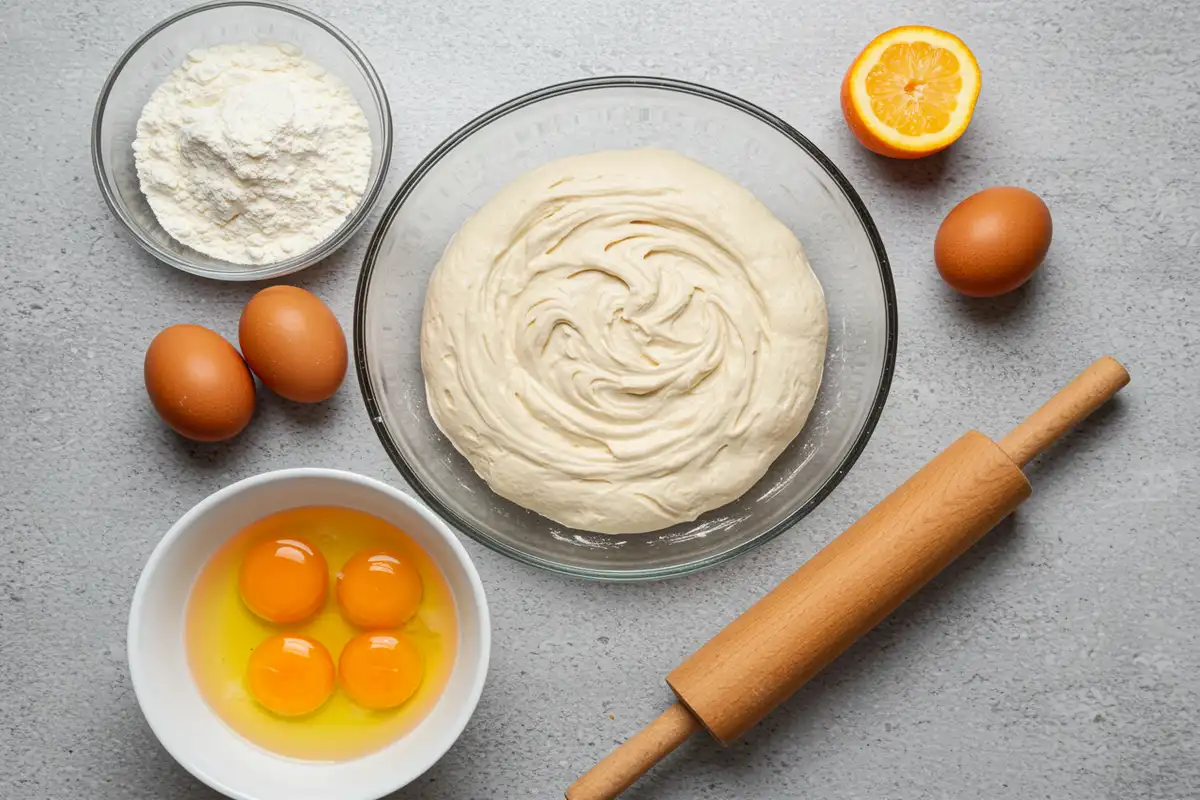
Okay, let’s be real, friends. That gorgeous, crusty, tangy sourdough bread? It calls to my Italian soul! But sometimes, the multi-day commitment feels… well, daunting! Especially when you’re juggling work, kids demanding snacks yesterday (looking at you, Luca and Mia!), and maybe trying to keep your goofy husband (hi, Mike!) from making another terrible pun about bread “rising” to the occasion. That’s why this 8 hour sourdough bread recipe felt like finding a secret treasure map! Real, delicious sourdough without clearing your entire weekend schedule? Mamma Mia, sign me up!
Forget the super complex timelines and intimidating techniques you might have seen elsewhere. This streamlined approach gives you that incredible artisan quality – the tangy flavor, the chewy crumb, that perfect crust – with way less active time. Get ready to fill your home with that intoxicating aroma of baking bread… and maybe impress yourself a little!
Why This 8 Hour Sourdough Recipe is a Game Changer
Okay, I know sourdough can seem like this mystical baking Everest. But trust me, this 8 hour sourdough bread recipe makes it feel more like a lovely hike here in the Pacific Northwest. Here’s why it’s a total game-changer:
- Less Fuss, More Flavor: It cleverly simplifies the traditional sourdough process, slashing the total time without sacrificing that signature tangy goodness we all crave. It’s like magic!
- Fits Your Crazy Life: Most of the 8 hours is hands-off time! You only spend short bursts actually doing stuff. The dough basically works its magic while you live your life. Perfect for busy parents!
- Real Deal Taste & Texture: Don’t let the speed fool you. You still get that amazing sourdough tang, the satisfying chewy crumb, and that crackly crust. Bellissima!
- Totally Doable Instructions: The steps are clear and easy to follow. No confusing baker jargon here! Even if this is your first sourdough adventure, you can do this!
- Sourdough When You Want It: Craving fresh sourdough for dinner tonight or brunch tomorrow? This recipe makes it possible without needing to plan three days in advance! Need an even faster bread? My Mary Berry Soda Bread Recipe is ready in under an hour!
8 Hour Sourdough Bread Recipe: Step-by-Step to Sourdough Bliss
This recipe is inspired by the great work of Sourdough Mom, simplified for busy home bakers. Let’s bake some amazing 8 hour sourdough bread recipe loaves!
Yields: 2 gorgeous loaves Prep time: 8 hours (but mostly just waiting time!) Baking Time: About 45 minutes
Ingredients:
- 250g active sourdough starter: Bubbly and lively! Feed it beforehand so it’s ready to party.
- 725g warm filtered water: Around 80-90°F is great. Filtered water is happy water for sourdough!
- 1000g unbleached flour: Bread flour is ideal for chewiness, but good quality all-purpose works too.
- 25g salt: Fine sea salt or kosher salt works best.
Equipment:
- Large mixing bowl
- Kitchen scale (essential for sourdough!)
- Clean kitchen towel or plastic wrap
- Lightly floured counter space
- 2 Bannetons (proofing baskets) OR bowls lined with floured towels
- Dutch oven (heavy pot with a lid, safe for high heat)
- Parchment paper
- Sharp knife or bread lame for scoring
Instructions:
Prepare Dough (Get Your Hands Messy!):
- In your large mixing bowl, weigh out 250g of your active, bubbly sourdough starter.
- Tare (zero out) the scale. Add 725g of warm filtered water. Use your hands or a whisk to mix until the starter is mostly dissolved into the water – it should look milky.
- Add the 1000g of flour and 25g of salt all at once. Now, get your hands in there! Mix and squish everything together until you form a shaggy dough and there are no dry pockets of flour left. Don’t worry about kneading!
Stretch and Folds (Building Strength Gently):
- Cover the bowl with a kitchen towel or plastic wrap and let the dough rest for one hour. This is called the autolyse, letting the flour hydrate.
- Now we do stretch and folds! Wet your hands slightly (this prevents sticking). Reach under one side of the dough, gently stretch it upwards, and fold it over the top of the dough ball. Rotate the bowl 90 degrees and repeat: stretch up, fold over. Do this two more times (total of 4 stretches/folds per set). Cover the bowl again. Repeat this entire stretch and fold process every 30 minutes for a total of four sets (so, at 1 hour, 1.5 hours, 2 hours, and 2.5 hours after the initial mix). You’ll notice the dough getting smoother and stronger each time!
Bulk Fermentation (Let it Grow!):
- After your fourth and final set of stretch and folds, cover the dough again. Let it sit undisturbed on the counter at room temperature for about two hours. You’re looking for it to increase in volume by about 50%-75% and look puffier, maybe with some bubbles. ( Note: This step is temperature-dependent! In a cooler kitchen, it might take longer than 2 hours. Watch the dough, not just the clock! )
Shaping (Like Wrapping a Present!):
- Lightly flour your countertop. Gently tip the dough out of the bowl onto the floured surface. Use a bench scraper or knife to divide the dough into two equal halves.
- Let’s shape the first loaf (pre-shape): Gently press one piece of dough into a rough rectangle. Fold one side third of the way over towards the middle, like folding a letter. Fold the other side over the first fold. Now, starting from the top edge closest to you, gently roll the dough up away from you into a tight-ish log or ball shape. Let this rest, seam-side down, on the counter for about 20 minutes, covered loosely with your towel. Repeat with the second piece of dough. This bench rest relaxes the gluten.
- Final Shape: Lightly flour your counter again if needed. Take one rested dough ball, gently flip it over (seam-side up). Repeat the letter fold (side to middle, other side over). Then, roll it up tightly again from top to bottom into its final shape (either a round boule or an oval batard). Use your hands cupped around the dough, rotating and pulling it towards you on the counter slightly to create surface tension – you want a nice tight skin on the outside. Be gentle but firm! Repeat with the second loaf.
- Place each shaped loaf upside down (seam-side UP) into a well-floured banneton or a bowl lined with a heavily floured (rice flour works great to prevent sticking!) kitchen towel.
Proofing (The Cold Nap):
- Cover the bannetons/bowls loosely with a kitchen towel, plastic wrap, or just pop them into a plastic bag. Place them in the refrigerator to cold-proof for at least 2 hours. You can leave them in there for up to 48 hours, which develops even more flavor! (This 2+ hour cold proof is PART of the 8-hour timeline).
Baking (The Grand Finale!):
- Preheat Like You Mean It!: About 45 minutes to an hour before you plan to bake, place your Dutch oven (lid on!) inside your cold oven. Preheat the oven (with the Dutch oven inside) to a scorching 500°F (260°C). Getting the pot super hot is key for that amazing oven spring!
- Get Ready to Bake: Once the oven and Dutch oven are fully preheated, carefully take one banneton/bowl out of the fridge. Place a piece of parchment paper over the top of the banneton, then place a cutting board or flat plate on top of that. Quickly and carefully flip the whole thing over. Lift off the banneton/bowl. Voilà! Your dough should be sitting pretty on the parchment paper, seam-side down.
- Score Your Loaf: Dust the top of the dough lightly with flour if you like. Using a very sharp knife, razor blade, or bread lame, make a decisive score (cut) across the top of the dough. A simple slash, a cross, or a fancy pattern – this allows steam to escape and the bread to expand beautifully.
- Into the Fiery Pot!: Carefully remove the extremely hot Dutch oven from the oven (use good oven mitts!). Take off the lid. Using the parchment paper as a sling, carefully lower your scored dough into the hot Dutch oven. Put the lid back on immediately.
- Bake Covered: Place the covered Dutch oven back into the 500°F (260°C) oven. Bake for 35 minutes. The trapped steam creates an amazing crust!
- Bake Uncovered: After 35 minutes, carefully remove the lid (watch for steam!). Reduce the oven temperature to 425°F (220°C). Continue baking uncovered for another 10-15 minutes, or until the crust is deeply golden brown and beautiful.
- Cool is Crucial!: Carefully remove the bread from the Dutch oven (use the parchment paper sling) and place it on a wire rack. Now, the hardest part: LET IT COOL for at least one hour, preferably two, before slicing! I know, it’s torture! But slicing hot bread can make the inside gummy. It needs time to finish setting. Listen for the crackles as it cools – music to a baker’s ears! Repeat baking process for the second loaf.
Tips and Tricks for 8-Hour Sourdough Success
Want your 8 hour sourdough bread recipe to be absolutely magnifico ? Keep these Nonna-approved tips in mind:
- Happy Starter, Happy Bread: Your starter needs to be active and bubbly, ideally doubled in size after feeding, before you use it. A weak starter = sad, flat bread. Treat it like part of the family!
- Gentle Hands: Remember, we’re doing stretch and folds, not aggressive kneading. Be gentle, especially during shaping, to keep those precious fermentation bubbles intact.
- Watch the Dough, Not the Clock (Especially for Bulk Ferment): Kitchen temperature dramatically affects fermentation. The 2-hour bulk ferment is an estimate. Look for that 50-75% volume increase and puffiness. It might take longer in a cool Portland kitchen!
- Score with Confidence: Make your score about ½ inch deep with a quick, decisive motion. Hesitation can drag the dough. If you don’t have a lame, a very sharp knife or even clean scissors can work!
- Hot Pot Power: Don’t skimp on preheating that Dutch oven! A screaming hot pot gives you the best oven spring (that initial big rise) and crust.
Is Sourdough Actually Healthier? Unveiling the Benefits
Beyond tasting absolutely incredible, sourdough bread often gets talked about for its health perks. What’s the deal? Here’s the simple scoop:
- Easier on the Tummy?: That long fermentation process (even in this quicker version!) involves wild yeasts and bacteria breaking down some of the gluten and phytic acid in the flour. This can make sourdough easier for some people to digest compared to regular yeast breads, especially if they have mild sensitivities (but remember, it’s not gluten-free!). If you’re looking for another interesting bread, check out my renamed Harvest Bread (originally Squaw Bread Recipe) – it uses different flours for a unique texture.
- Blood Sugar Friendlier: Sourdough generally has a lower glycemic index than standard white bread, meaning it might not spike your blood sugar as dramatically. Interesting, right? Healthline dives into the science of sourdough benefits here.
- Nutrient Boost: Fermentation can actually make some nutrients, like folate and minerals (think magnesium!), potentially more available for your body to absorb. Bonus!
- Happy Gut Bugs: Sourdough acts as a prebiotic – food for the good bacteria living in your gut. And we all know a happy gut is important for overall health!
Of course, “healthy” depends on the flour used and what you eat it with! But it’s cool to know this ancient process has modern benefits.
Making Sourdough Accessible: A Quick Guide
This 8 hour sourdough bread recipe truly makes amazing sourdough achievable, even with a busy schedule. Minimal hands-on time, maximum flavor payoff. It’s all about working smarter, not harder, in the kitchen!
8 Hour Sourdough Bread
Equipment
- Large mixing bowl
- Scale
- Kitchen towel or plastic wrap
- Lightly floured counter
- Banneton (proofing basket)
- Dutch oven
- Parchment paper
Ingredients
- 250 g active sourdough starter
- 725 g warm filtered water
- 1000 g unbleached flour
- 25 g salt
Instructions
- Prepare Dough: In a large mixing bowl, place 250g of active sourdough starter. Zero out the scale and add 725g of warm filtered water. Mix until the starter is dissolved. Add 1000g of flour and 25g of salt. Mix with hand until the dough is the same consistency and there are no pockets of dry flour remaining.
- Stretch and Folds: Cover the dough and let it rest for one hour. Perform stretch and folds every 30 minutes for four rounds.
- Bulk Fermentation: After the fourth round, cover the dough and let it bulk ferment on the counter for two hours until it increases by 50%-75% in size. (This step may take longer than 2 hours.)
- Shaping: Lightly flour the counter. Split the dough in half. Shape the dough into a large rectangle, then fold one side toward the middle, and repeat with the other side. Roll up your dough into a ball shape. Shape it into a round ball by pushing your dough out in a circular motion and pulling in about 3-4 times (tucking in the underside). Let rest for 20 minutes. Perform the final shaping by repeating the steps you did in the first shape. Place your dough upside down (seam side up) into a floured banneton.
- Proofing: Cover your dough with a kitchen towel or plastic wrap and cold-proof in the refrigerator for 2 hours or up to 48 hours.
- Baking: Preheat the oven to 500°F (260°C) with a Dutch oven inside. Once proofed, flip the dough onto parchment paper. Score the dough. Place the dough with parchment paper into the preheated Dutch oven. Bake covered at 500°F (260°C) for 35 minutes, then uncover and bake for another 10 minutes at 425°F (220°C).
- Remove from the oven and cool for at least one hour before slicing.
Notes
Answering Your Sourdough Questions: Unlocking the Secrets
Sourdough can feel like a mystery! Let’s tackle some common questions about this 8 hour sourdough bread recipe :
Your 8 Hour Sourdough Adventure Awaits: Let the Baking Begin!
See? This 8 hour sourdough bread recipe makes the magic of homemade sourdough totally achievable, even for busy folks like us! It’s your gateway into that rewarding world, delivering amazing taste and texture without demanding your entire weekend. My kids Luca and Mia get so excited watching the dough rise, and Mike actually enjoys slicing into a crusty loaf he knows I didn’t stress over for days! It’s baking joy, simplified.
So, feed that starter, grab your flour, and give it a go! Once you’ve tasted truly fresh sourdough from your own oven, you might never go back. When you’re ready for more bread adventures, check out my list of top rated bread recipes – there’s something for every mood!
Happy Baking, amici! Let me know if you try this speedy sourdough! Buon appetito!

