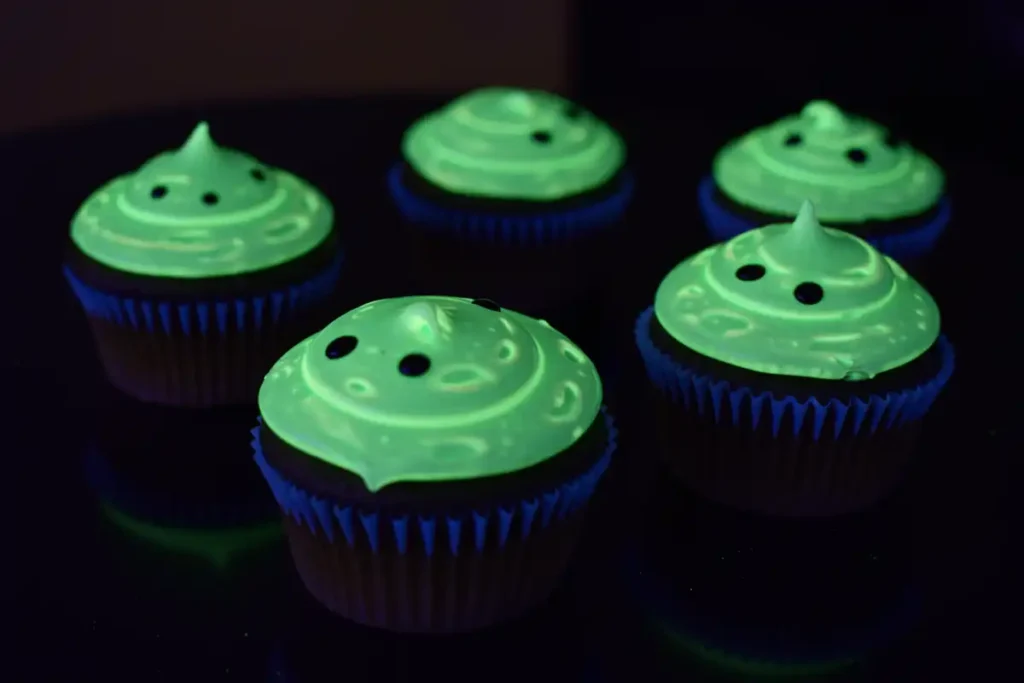
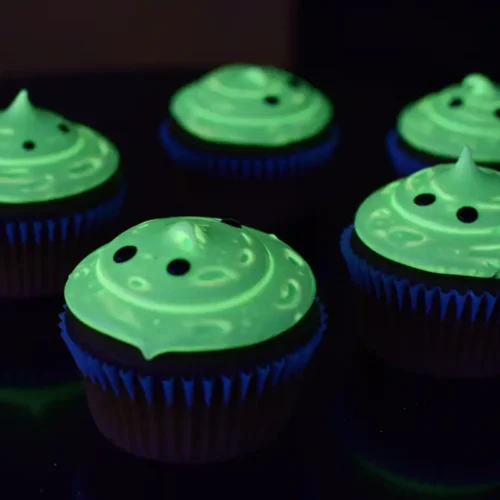
Okay, folks, let’s get real for a second. Halloween is HUGE in our Portland neighborhood, and every year I try to up my game just a little bit. Last year, my son Luca wanted something “super spooky and cool,” Mia, my little chatterbox, just wanted sprinkles, and my goofy husband Mike suggested making “ghost-toast” (bless his heart). Then I stumbled upon the idea of Glow-in-the-Dark Moonlit Cupcakes! Mamma Mia! Cupcakes that actually GLOW under blacklight? Forget about it! It sounded like something out of a mad scientist’s lab (in a good way!).
Now, before you think this involves anything weird or non-edible (Nonna Rosa would not approve!), let me assure you, it’s all totally safe kitchen magic! These cupcakes are perfect for Halloween parties, space-themed birthdays, or just freaking out your friends on movie night. They look incredible, taste delicious (it’s a yummy cream cheese frosting!), and are surprisingly easy to whip up. So, grab your black light (you’ll need one!) and let’s bake something glowingly gorgeous!
The Science of Spooky: How to Make Food Glow (Safely!)
Alright, let’s put on our lab coats for a second (kidding… mostly!). How do we make food glow without, you know, actual radioactive stuff? It’s all about safe, edible ingredients that do a cool trick called fluorescence.
Basically, some food-safe things absorb invisible ultraviolet (UV) light (like from a black light) and then shoot back visible light, making them appear to glow! Pretty neat, huh? If you want the full science-y explanation, this article from Scientific American breaks it down.
For our Glow-in-the-Dark Moonlit Cupcakes , we rely on two totally safe methods:
- Tonic Water: Good old tonic water contains quinine, a natural substance that glows bright blue under black light. We’ll sneak some into the batter and frosting!
- Edible Glow Gels (Optional): For an extra OOMPH of glow, you can find special food gels online or in baking stores that are specifically designed to glow under black light. Crucially , make sure they are labeled EDIBLE and FOOD SAFE . Do NOT, I repeat, do NOT use craft store glow paint or anything from a glow stick. Mamma Mia, safety first, always!
So, rest easy – this glow is all delicious, food-safe fun!
Glow-in-the-Dark Moonlit Cupcakes Recipe: A Step-by-Step Guide
This recipe uses a super easy white cake mix base (because sometimes shortcuts are lifesavers!) jazzed up with our glow-magic frosting.
Yields: 12 glowing cupcakes Prep time: 30 minutes (plus cooling time!) Cook time: 18-20 minutes
Ingredients:
For the Cupcakes:
- 1 box white cake mix: Plus the ingredients listed on the box (usually eggs, oil, water). Keeping it simple!
- ¼ cup tonic water: Swap out ¼ cup of the water called for on the box mix with tonic water for a subtle base glow.
For the Glow-in-the-Dark Cream Cheese Frosting:
- 8 ounces cream cheese, softened: Full fat works best for flavor and texture! Make sure it’s truly softened.
- ½ cup (1 stick) unsalted butter, softened: Again, softened is key for smooth frosting!
- 4 cups powdered sugar: Sifted if it looks lumpy!
- 1 teaspoon vanilla extract: For yummy flavor!
- ¼ cup tonic water: This is our main glow ingredient for the frosting! Add more by the teaspoon if needed for consistency.
- Edible glow-in-the-dark food gel (Optional): If you want a super bright glow, add a few drops of a food-safe glow gel (check brands like Wilton or look on specialty baking sites).
For the Moonlit Design:
- Blue food coloring: Gel coloring gives the most vibrant shades.
- Black food coloring: Just a tiny bit needed for deep sky colors.
- White decorating gel or white candy melts: For making stars or a moon.
Equipment:
- 12-cup standard muffin/cupcake tin
- Cupcake liners (dark colors look cool!)
- Mixing bowls
- Electric mixer (handheld or stand mixer)
- Measuring cups and spoons
- Piping bag and tips (optional, for fancy frosting)
- Small bowls (for tinting frosting)
- Spatula/Knife (for frosting)
- Toothpicks or small brushes (for decorating)
- A Black Light! (Essential for seeing the glow!)
Instructions:
- Prep & Bake Cupcakes: Preheat your oven to 350°F (175°C) or according to the cake mix box. Line your cupcake tin with liners. Prepare the cake batter exactly as the box directs, BUT substitute ¼ cup of the water called for with ¼ cup of tonic water. Mix it up!
- Fill & Bake: Fill each cupcake liner about 2/3 full – don’t overfill! Bake for the time specified on the box (usually 18-20 minutes), or until a toothpick inserted into the center comes out clean.
- Cool Completely: This is important! Let the cupcakes cool in the tin for a few minutes, then transfer them to a wire rack to cool ALL THE WAY. Hot cupcakes = melted frosting disaster!
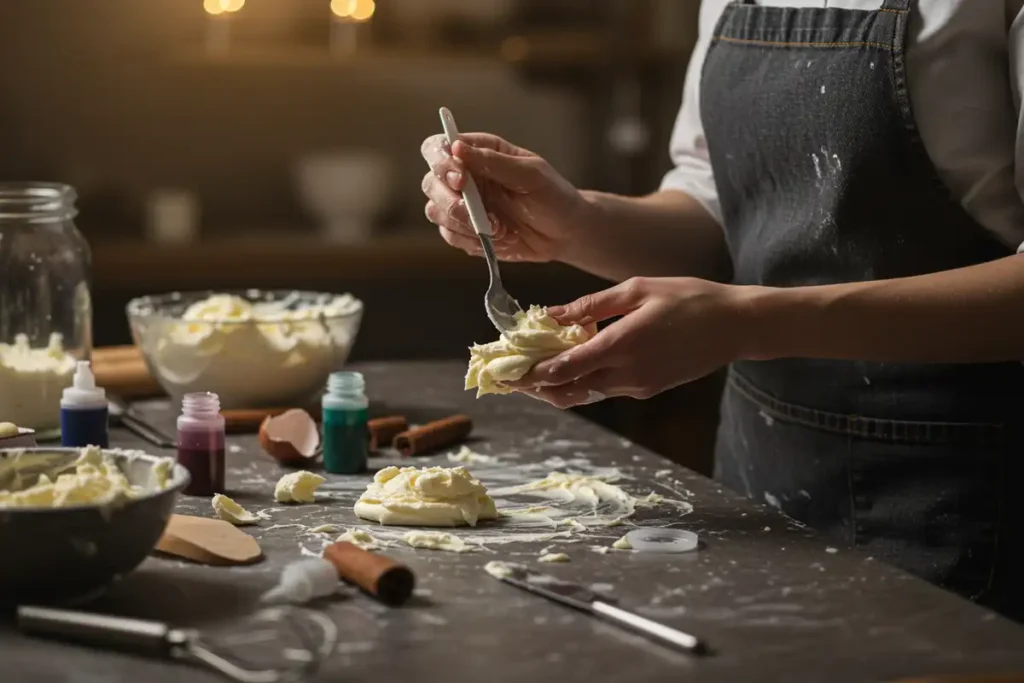
- Make the Glowing Frosting: While the cupcakes cool, let’s make the magic frosting! In a large bowl, beat the softened cream cheese and softened butter together with your electric mixer until smooth and fluffy. No lumps!
- Sweeten it Up: Gradually beat in the powdered sugar, starting on low speed (unless you want a sugar explosion!), until it’s all incorporated. Add the vanilla extract and the ¼ cup of tonic water. Beat again until smooth and creamy. If you’re using edible glow gel, add a few drops now and beat it in. If the frosting is too thick, add more tonic water, one teaspoon at a time. If too thin, add a bit more powdered sugar.
- Create Your Night Sky: Divide the frosting into three bowls. Leave one white. Add a few drops of blue food coloring to the second bowl and mix well. Add a few drops of blue AND a tiny drop of black food coloring to the third bowl for a deep navy/midnight blue color. Mix well!
- Frost Your Cupcakes: Now for the fun part! Get creative frosting your completely cooled cupcakes. You can dollop spoonfuls of the different colors side-by-side and swirl them gently with a knife or toothpick for a galaxy effect. Or use piping bags with different tips to create cool patterns!
- Add Moon & Stars: Use white decorating gel, melted white candy melts in a small piping bag, or even tiny white sprinkles to add stars, maybe a crescent moon, or spooky clouds to your night sky designs.
- Let There Be Glow!: The moment of truth! Find a dark room, turn on your black light, and aim it at your cupcakes. Mamma Mia! Watch them glow! They’re ready for their spooky debut!
Tips and Tricks for Spooktacular Results
Want your Glow-in-the-Dark Moonlit Cupcakes to shine their brightest? Here are my best tricks:
- Black Light Power: Not all black lights are created equal! A stronger UV black light will definitely make the glow more intense and impressive.
- Color Play: Have fun with the frosting colors! Mix blues, purples, and blacks for different night sky vibes. White frosting with just tonic water will glow blue – sometimes simple is cool too!
- Design Magic: Don’t worry about being perfect! Swirls, splatters, simple dots for stars – it all looks cool under the black light. Let the kids help decorate!
- Glow Test Run: Definitely test one cupcake under the black light before your party or event starts, just to make sure the glow is working how you expected!
- Fresh Tonic Water: Use a relatively fresh bottle of tonic water – the quinine can degrade over time, potentially lessening the glow effect.
Variations for Your Enchanted Treats
Want to customize your Glow-in-the-Dark Moonlit Cupcakes even more? Let’s brainstorm!
- Chocolate Night Sky: Use a chocolate cake mix instead of white for a dark, spooky base. The glow effect will be mostly from the frosting.
- Oreo “Moon Rocks”: Crush some Oreo cookies (filling and all!) and sprinkle them over the frosting before adding stars. Looks like a cool, cratered moonscape!
- Glow Sprinkles & Dust: Look for edible glow-in-the-dark sprinkles or luster dusts (make sure they are blacklight reactive!) online for extra sparkle and glow power.
- Edible Glitter Glam: A light dusting of edible silver or iridescent glitter over the finished cupcakes adds a gorgeous shimmer under both regular light and black light!
- Flavor Twist: Add a little lemon or orange zest to the cream cheese frosting for a bright flavor contrast!
- Colorful Fun: Lean into the playful side! Instead of spooky/moonlit, use bright neon glow gels and maybe top with fun sprinkles – kind of like the vibe of a classic School Cake Recipe but with a glowing twist!
Glow-in-the-Dark Moonlit Cupcakes
Equipment
- 12-cup cupcake tin
- Cupcake liners
- Mixing bowls
- Electric mixer (optional)
- Measuring cups and spoons
- Piping bag and tips (optional)
- Small paintbrushes (for decorating)
Ingredients
For the Cupcakes:
- 1 box white cake mix plus ingredients called for on the box, such as eggs and oil
- ¼ cup tonic water added to the batter for a subtle glow
For the Glow-in-the-Dark Frosting:
- 8 ounces cream cheese softened
- ½ cup 1 stick unsalted butter, softened
- 4 cups powdered sugar
- 1 teaspoon vanilla extract
- ¼ cup tonic water or more, to adjust consistency
- Edible glow-in-the-dark food gel optional, for a brighter glow
For the Moonlit Design:
- Blue food coloring
- Black food coloring
- White decorating gel
Instructions
- Prepare Cupcake Batter: Preheat oven to 350°F (175°C). Line a 12-cup cupcake tin with liners. Prepare the white cake mix according to the package directions, adding 1/4 cup of tonic water to the batter.
- Bake Cupcakes: Fill the cupcake liners about 2/3 full. Bake for 18-20 minutes, or until a toothpick inserted into the center comes out clean.
- Cool Completely: Let the cupcakes cool completely in the tin before frosting.
- Make the Frosting: In a mixing bowl, beat the softened cream cheese and butter until smooth and creamy. Gradually add the powdered sugar, mixing on low speed until combined. Stir in the vanilla extract and 1/4 cup of tonic water. Add edible glow-in-the-dark food gel (if using) to enhance the glow.
- Tint Frosting: Divide the frosting into three bowls. Tint one bowl with blue food coloring, one with black food coloring, and leave one bowl white.
- Frost Cupcakes: Frost the cupcakes with the tinted frostings, creating a moonlit sky effect. You can use a piping bag and tips for a more elaborate design, or simply spread the frosting with a knife.
- Add Details: Use white decorating gel to add details like stars, clouds, or a crescent moon.
- Glow Time: To see the glow, turn off the lights and shine a black light on the cupcakes!
Notes
Answering Your Glow-in-the-Dark Cupcake Questions
Let’s shed some light (black light, perhaps?) on common questions about these magical treats:
How do you make food glow safely?
The key is using ingredients that naturally fluoresce under UV black light and are completely edible! Tonic water (thanks to quinine) is the easiest and most common. Certain B vitamins can also glow, but tonic water is much simpler for baking! You can also use specially formulated *edible* glow-in-the-dark food gels, but always check the label!
What exactly are black light cupcakes?
They’re simply cupcakes made with food-safe ingredients (like tonic water in the frosting) that have the cool property of glowing when you shine a black light (UV light) on them in a dark room! It’s a fun visual trick!
Is tonic water safe to eat in baked goods/frosting?
Yes, absolutely! Tonic water is a beverage that’s safe to drink. The amount of quinine in it is very small and perfectly safe when used in moderation in recipes like this. No worries there!
What kind of frosting works best for glow-in-the-dark cupcakes?
White or light-colored frostings work best because they allow the blue glow from the tonic water to show through most effectively! Cream cheese frosting (like in this recipe) or a classic American buttercream are great choices. Dark frostings won’t show the glow as well (unless you use the optional edible glow gels).
Will these cupcakes glow without a black light?
Nope! The magic only happens under ultraviolet (UV) black light. In regular light, they’ll just look like delicious, maybe slightly bluish-tinted (depending on your frosting), moonlit cupcakes. You need the black light to activate the fluorescence and see the glow!
Your Glow-in-the-Dark Moonlit Cupcakes Await: Let There Be Light!
Mamma Mia! These Glow-in-the-Dark Moonlit Cupcakes are seriously such a blast to make and even more fun to reveal! They’re guaranteed to add that “wow” factor and a little bit of spooky (or spacey!) magic to your next party. My kids, Luca and Mia, go absolutely nuts for the glowing effect, and Mike just thinks the science is cool. It’s a win-win! It’s proof that baking can be delicious, creative, and a little bit like a science experiment!
So go ahead, grab that tonic water, maybe some edible glow gel if you’re feeling extra, turn down the lights, switch on the black light, and let the baking enchantment begin! Let me know if you make these – I’d love to see your glowing creations! Buon appetito!


